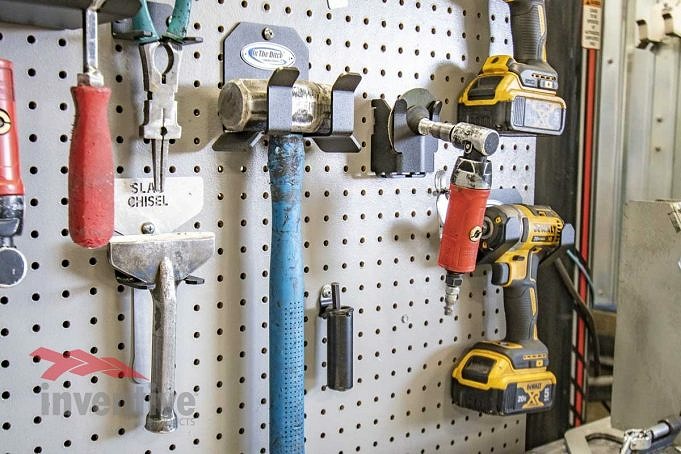
As the design and construction of the rack was completed (see part one of the story) and after I added the utility magnets and tried to hang the rack using the generic pegboard hooks (see part two) I came to the conclusion that my work was not completed and I needed to alter two things. To add stability to my hanging system, I used two bolts and nuts to attach the rack to the pegboard. I could have used wood screws but I liked the extra security of a bolt and nut.
Initial thoughts were that the steel hook would be sufficient to hang the rack. But as I begun using it, opening and closing the door, I concluded that I need some extra security so I replaced the pair of hooks with bots and nuts.
The flat head bolt replaced the hook.
Then, when I started using the rack I noticed that the chisel edges are suspended in dangerous proximity to the bottom of cabinets door. My hand was too close to the cabinet’s bottom when I opened the door, and even when reaching for things under the cabinet,
This was unacceptable, so I had to build a guard to protect myself. I designed a simple shelf that could be connected to the pegboard by screws traveling through the guard via the pegboard and into a hardwood batten that was part of the inner side of the door.
One last thought occurred to me as I was putting the shelves together with screws. To hang more tools on the rack, I thought of putting a few rare earth magnets on the screw heads. As a magnet enthusiast, I pulled out some buttons (disk magnets) that fit perfectly on the flat screw head.
Adding the rare earth magnets increased the efficacy of the rack.
Now that I had all the tools available, I felt my rack was complete.
Next time I will show how I built a rack for my Starrett combination square.


